|
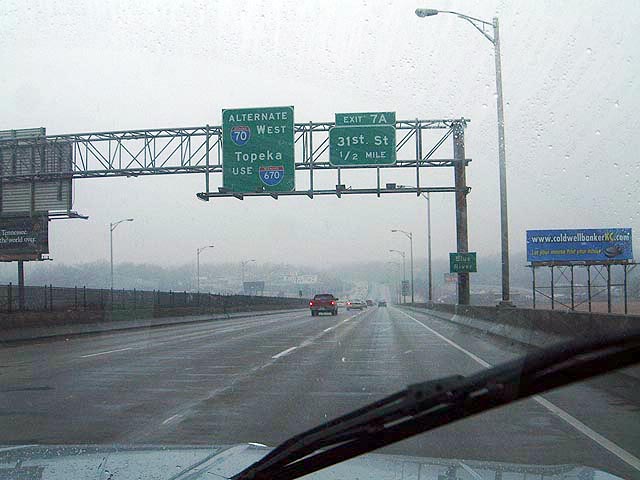
Did I mention the cold and rainy weather was lousy in March to work in a
non-heated garage? |
 |
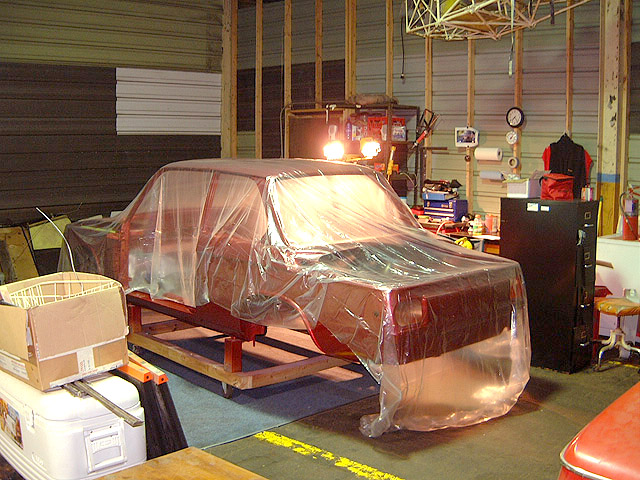
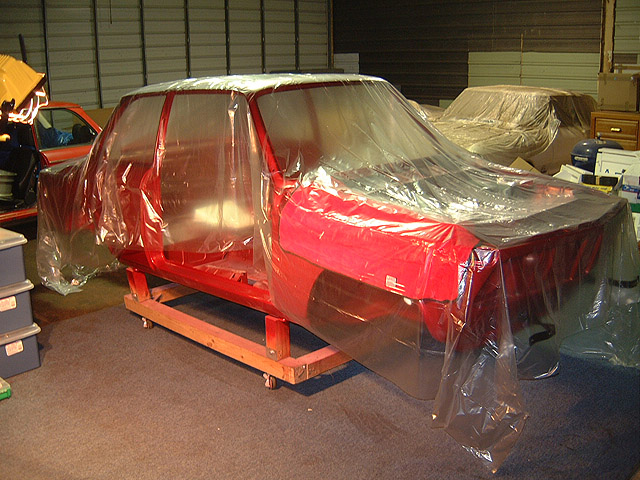
Well, this is my work area for the car. I am preparing to move to a
different location in April in the
same building that provides
more efficient workspace and lighting. This area is rather dark and cold at
times. |
 |
 |
 |
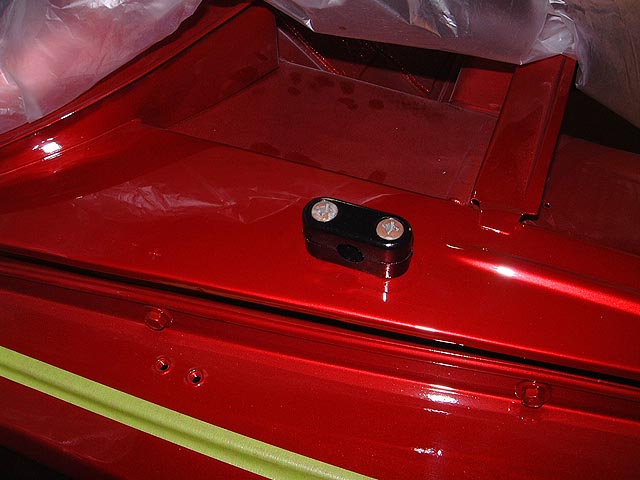
Test fitting the parts... This is the hood tie down block. I
had to tap the holes out to ensure the threads
were clean for these screws. This is a common theme when you put on this
much paint on a car. |
 |
This rebuilt, powder coated pedal box will soon be installed.
I've had it for 2 years, waiting for the day
I can drive Stella with new pedals. Since I found the car with a rope
tied to the gas pedal, I thought it
was fitting to have the pedals be put back like new since it was in such sad
shape for so long. |
 |
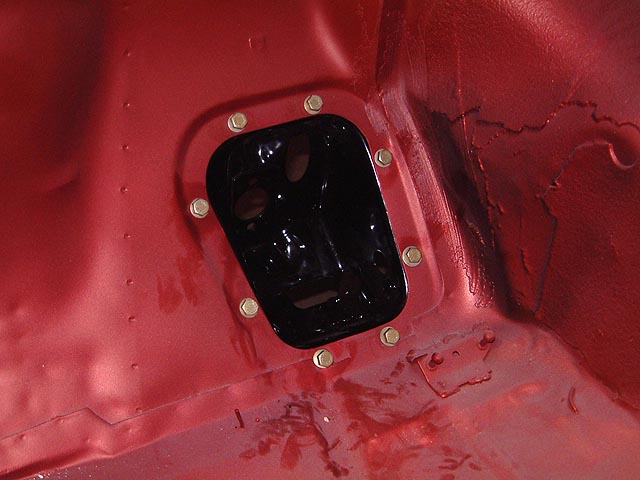
On the inside the pedal box gets fitted up to the floor. This was a
check prior to installing the sound
deadening
mats that I've installed. |
 |
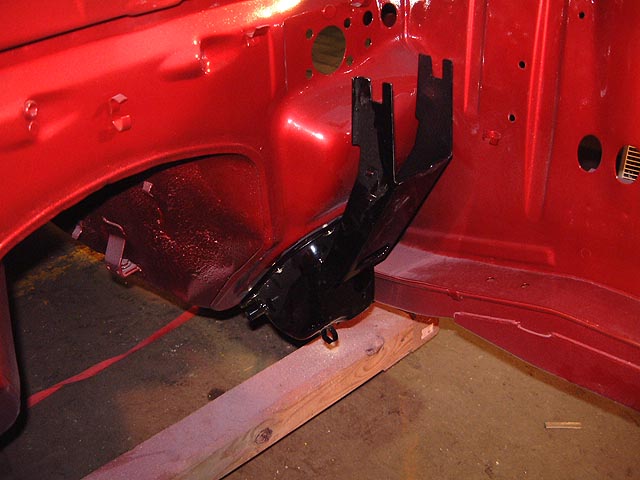
I started a trial fit of the bumper brackets for the new Euro
bumper install. This view shows what it
looks like under the front chin spoiler on the driver's side frame rails. |
 |
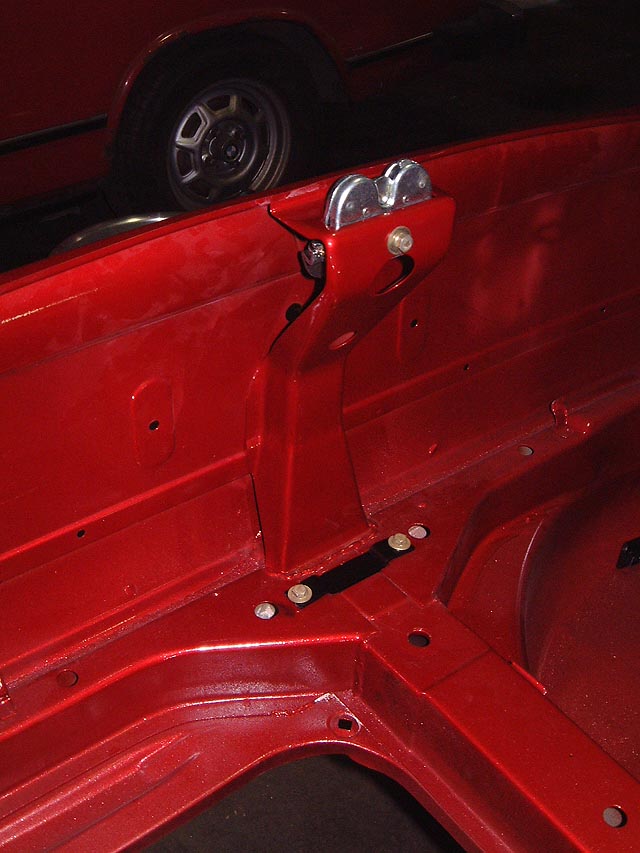
This view is looking at the frame rail where the new holes
were tapped out. The tab above the bolt is a
gas line clamp attached to the frame rail on the drivers side. |
 |
|
A view looking down at the bolts after proper fitting of the
angle iron bumper brackets. |
 |
The hardest part of the bumper install is the rubber grommets
that snap into the front core support. These
things are the devil to get in. Note how these are installed, I think they
look upside down compared to the
way I thought they would fit. Lube down both sides of the angle iron so it
doesn't grab at the rubber. It
makes a near water tight seal when done right. |
 |
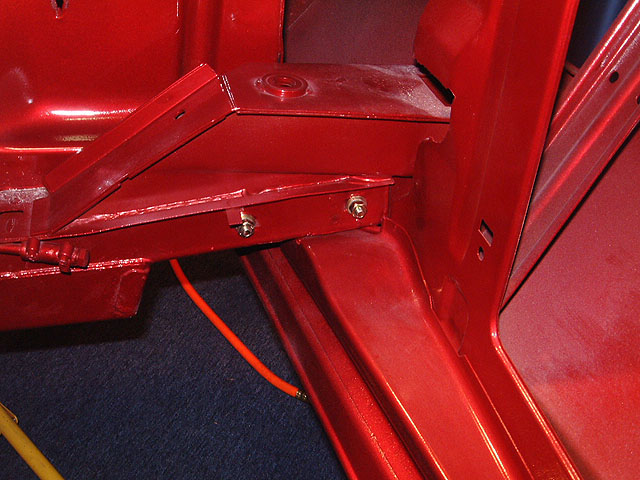
Starting to put the trunk mechanisms back in. Anybody know
what that black strip with two bolts in the
trunk floor does? |
 |
| Drop me a
line if you know... |
| March
in four parts: This is Part 2 / Part
1 / Part 3 / Part 4 |

