| The
Before Picture: There is a piece of aluminum trim which
fits inside the top of the door jam. This acts as the lip edge to hold your
rubber door seal in place and is held there by pop rivets. Before
installing, I used 320 grit sandpaper, sanding in a left to right motion.
This adds a smooth
finish to the aluminum before putting it back in. The yellow stuff is the
original rubber adhesive. |
 |
|
This view shows effects of the sanding... it actually shines
easy when you do this. Using the pop rivet gun to get the part securely
fastened back on the car. This is not hard to do. |
 |
|
This is how it looks back in the door jam. Later I will use a
solvent to remove the old glue before the new trim is attached. It's easier
here to work off the old adhesive because the metal is so flimsy you can't
get a good grip on it. |
 |
FUEL LINES Before : The hard fuel line on a TII runs
along the left/driver side of the US car. About a month ago, I used a die
grinder with a wire wheel to clean off any corrosion and old undercoating.
This is a task - it takes about 2 hours to do it right. Then I decided to
"mummify" the line from the elements using a product called PlastiDip which
is for putting rubber type coatings on tools. It's black to start with, so
after that was dry (2 coats) I used Eastwood's cast aluminum colored paint
to bring it back silver and then a coat of clear over the silver to dull it
down a bit. The arrows below point to where the fuel line will go snug
up against the body - this is the engine compartment view, along the frame
rail where the factory put these metal style clamps on for you to hold the
line. |
 |
|
Originally, there is a type of rubber gasket in each clamp
that went around the line. I chose to make new ones out of a new bicycle
inner tube, the width being a bit wider than the clamp in case it slips
later. |
 |
|
You have to start positioning the line first at the back of
the car by having an assistant hold it in place. Then you start at the
engine compartment. You need a small piece of electrical tape to hold the
gasket you've made in place. It may have to slide a bit left or right for
proper placement, so don't tape it to the line, only the gasket. |
 |
|
Do them one at a time, from front to the back of the car.
This is one is right next to the rear foot well. |
 |
|
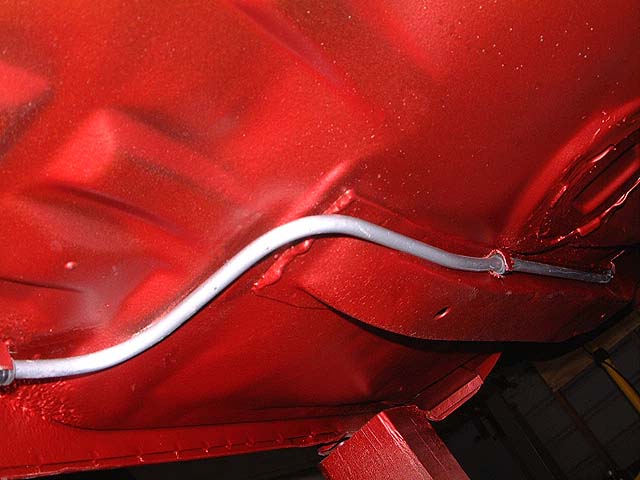
This view shows the view from back by the left rear wheel
looking forward. I thought this would help you visualize how it takes the
bend going towards the engine compartment. |
 |
|
More of the same here. This does show how the bottoms of my
floor drains ended up. |
 |
|
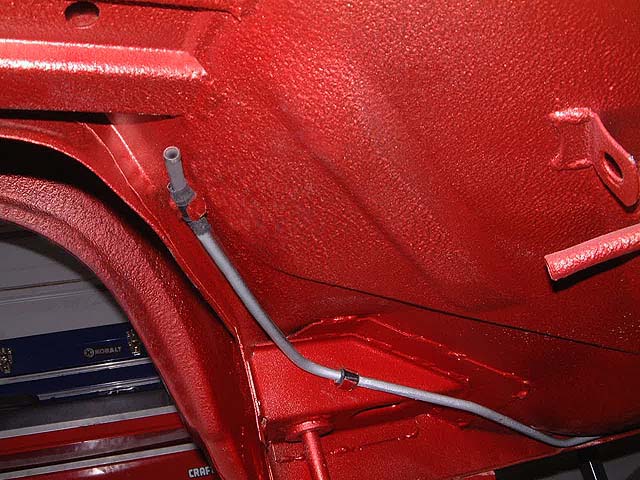
This shows how the line makes the last bend up as hit heads
towards the fuel pump. |
 |
| |
 |
|
If you peer into the rear wheel well, this is how it should
look. Man, I wonder how long this area will stay clean like this after I get
it on the road? If I could only keep it this clean... |
| |
| AS
ALWAYS, MORE NEXT MONTH :) |
|
Part 1 | Part 2 | This
is Part 3 |
| |

