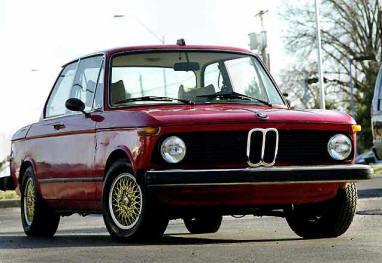
| A bit of retrospective again - I can't help it as it's the only
yardstick I have to measure with sometimes. Five years
ago this month, I started and drove this car for the first time. It was
a bit rusty, a bit loose in the suspension, but as with most first '02
rides, it had that ability. That ability, as David E. Davis said, to
"absolutely amaze everyone who ever drove one." Well, it
happened to me too. |
 |
| Where to begin... start with the battery wiring.
This is how it looks installed. |
 |
| A view outside the trunk. This brace is a great
design of a local enthusiast Ron. It's doubtful there will be more
made. I'm truly lucky to have one. |
 |
| I ran the wire over the passenger side shock tower
and down the passenger side of the car. This is using the standard E30
battery cable. |
 |
Up front, I mounted the terminal block under the
dash. From here I ran a 50" positive cable to the starter and the
red 10 gauge wire shown here to connection 19 on the harness, which
supplies current to the other side of the circuit.
To be specific:
I've included a 74tii wiring harness diagram in PDF form here for
reference. |
 |
| The original E30 battery cable cover hides things
very nicely. This view is towards the passenger side footwell. |
 |
| The main power cable is routed through the firewall
just under the glove box location. |
 |
| I used SEM Landau Black dye on the dash. This renewed
the finish to like new of this used dash. |
 |
| This dye can be used any of the black components of
vinyl if needed. |
 |
| Here are the steering column cover and knee pad.
For $15 list, this may help many parts of your interior! |
 |
| At the door, these grommets are used to hold the door
lock wire and the door opener wires. These are easy to replace if the
lock mechanism is out of the car. |
 |
| Here is a shot of the lock button wire installed. |
 |
| Here is an inside view of the same. |
 |
| There are two hoses which connect from the engine to
the heater box. They have grommets which fit in the firewall which
protect the hoses. Those two grommets are shown to the right the hoses. |
 |
| This is the hole closest to the driver side. |
 |
| This is how it looks after it's installed. |
 |
| I test fitted the air box prior to installing the
radiator. |
 |
| The washer bottle and pump were connected, along with
routing the hoses back to the squirters. I moved this hose lower,
I believe they were originally above the reservoir. |
 |
| The distributor was installed and lined up. It's best
to set the engine to TDC by using the notch on the cam itself. The notch
on the distributor was placed at approximately 8:00 position, the rotor
was placed at 6:00 and then when it engaged with the cam gear, it
rotated over to the 8:00 position as shown here. |
 |
| The plug wires are connected as shown, with the
center being obviously the coil wire. This isn't documented much
so I put these numbers on to help you when you are working on your car. |
 |
After installing the radiator, and the upper and
lower hoses, I added the plugs and plug wires, and added coolant to the
radiator.
The engine was ready to be started at this point. |
 |
| So she sat quietly until we could gather the local
fan club to watch it start for the first time... so here we go! |
 |
| Next -> Stella Starts For The First Time |
| |

