| My Engine Rebuild Approach: So you
know where I'm going on this project, I am not building a race car motor for
Stella at this time. I am trying to get as much as I can from the original
setup to have the performance BMW originally put into the car. This utilizes
stock cam, pistons, crank, where possible. I wanted to prove to myself the
potential BMW put into the car from the start (I may be disappointed, but so
what, it's not going to be a race car). So far only new rings and bearing are needed
since overall wear on the engine was within wear tolerances. At some
point in the future I have a second 74tii engine and block I may use as the
more powerful motor - hey you have to leave yourself some room for a future
project! Furthermore, there are lots of things I can
do on this project. I don't feel that the engine is one of them I can do by
myself reading a book. Problems can extend the project and be costly. Don't
mess around, get expert help. In order of importance and cost, you can 1)
buy a remanufactured engine from BMW, 2) have a BMW engine expert
rebuild/remanufacture yours, or 3) involve somebody who was successful doing
it before help you out. I chose #2, and enlisted
Rob Torres of 2002 Haus
to make mine a reality. I did a great deal of the machine shop and prep work
through other services and let him do the rest as you will see here. The
photos below depict a "rebuilt" engine process rather than "remanufactured".
When you add all new parts such as pistons, you are remanufacturing your
engine.
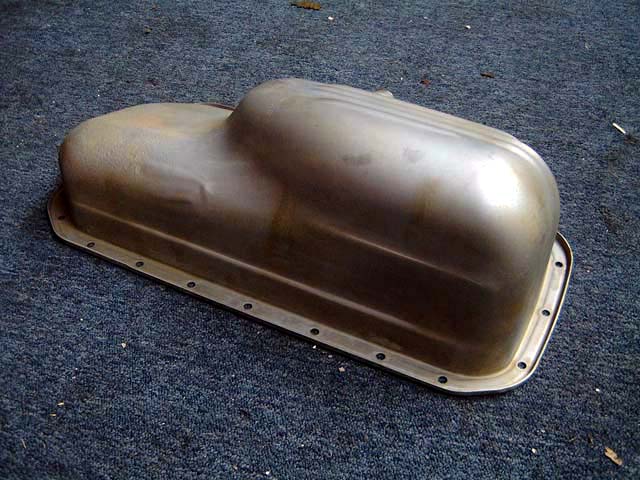
As we began assembly I remembered the oil
pan was an oily greasy mess. I had it bead blasted and then immediately
prepared the metal using
POR-15's Metal Ready. This etches the metal and leaves a zinc phosphate
coating. When done it should look like this. |
 |
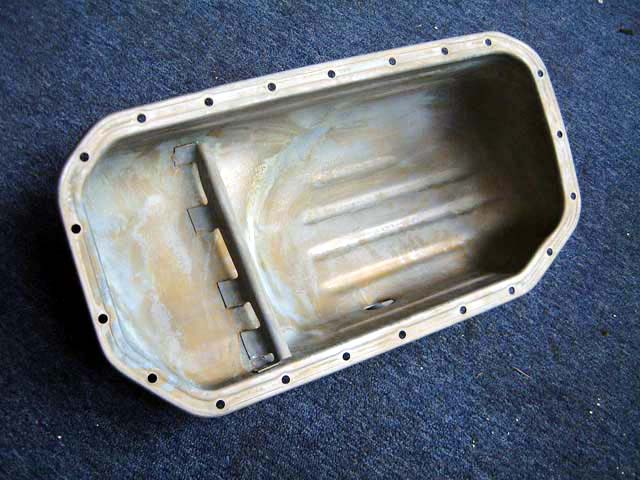
| Inside view of the pan. Make sure and remove
all the excess with streaming water and rags to remove any residue left
behind by the etching process. It was painted with POR-15 semi gloss black
paint. |
 |
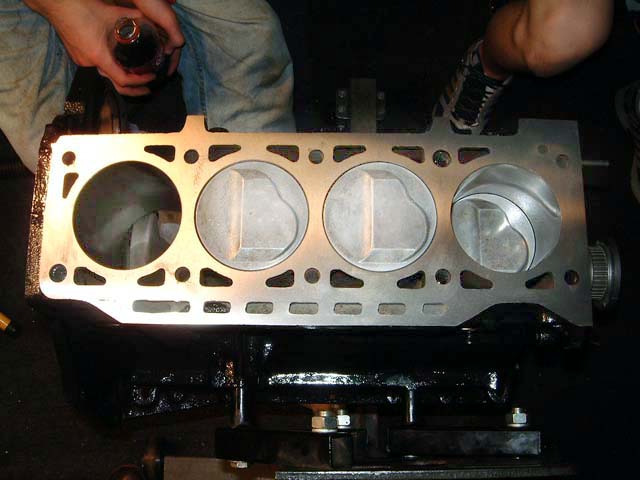
| The block has been hot tanked and is ready
for reassembly as I covered in April's update. |
 |
| The block is fixed this way to the engine
stand because BMW does it this way. I have made this closeup so you can do
the same, using the holes as shown to bolt the block to the engine stand. In
this way you affix flywheel and driveline without having to remove the block
from the stand! |
 |
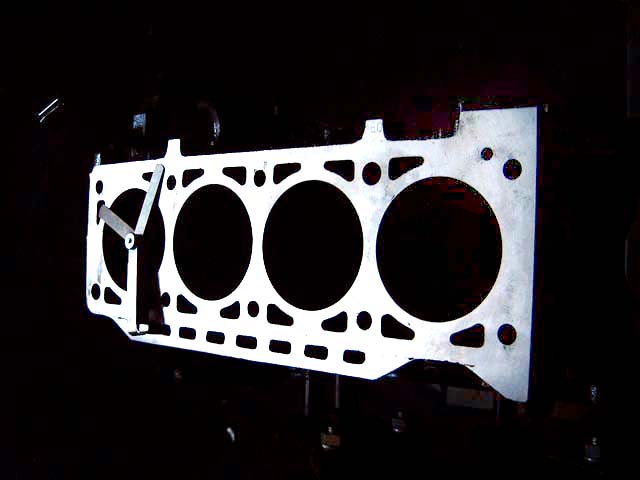
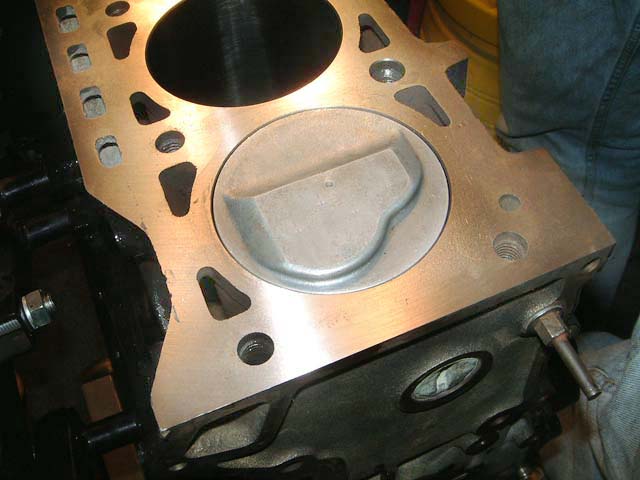
| The top of the block has been milled to
remove any warpage of the past. |
 |
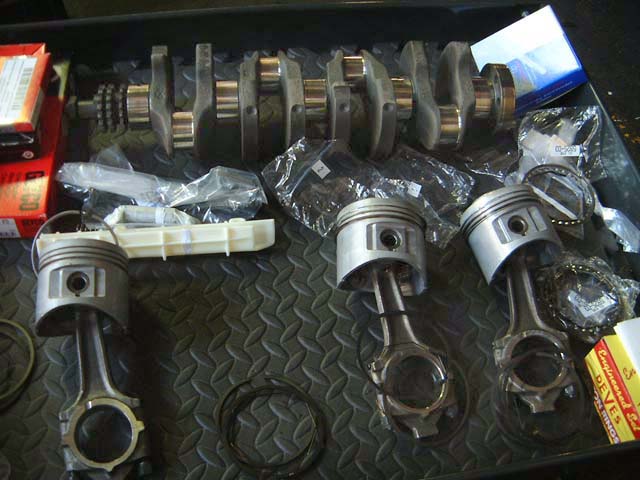
| The parts are laid out in a work cart in
order of assembly. What you will now see is the abbreviated photo steps I
did of the work Rob Torres did building the lower end of the block. During
this time there was a large audience of people in my shop while he completed
this work. He was a great instructor! |
 |
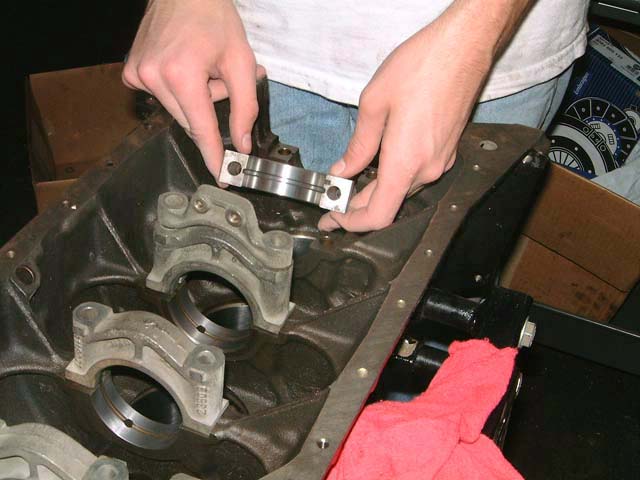
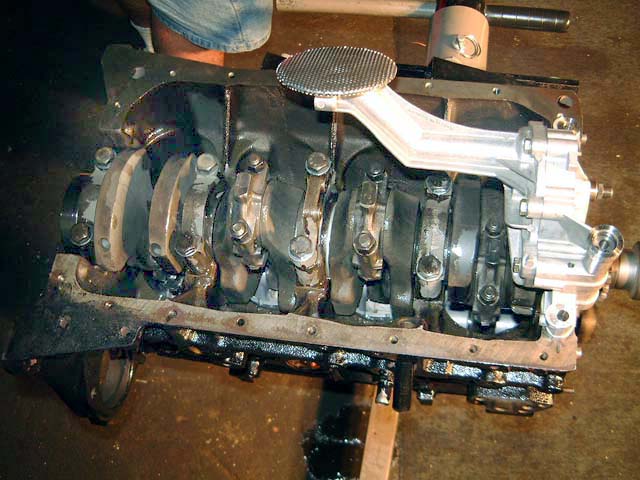
| Each main bearing cap is checked for
location and cleaned with emery cloth prior to bearing insertion. |
 |
| Ready to go... |
 |
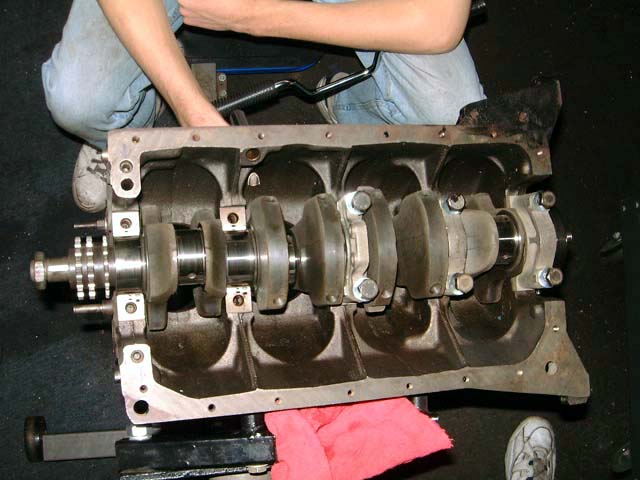
| The bearings are installed into the block
along with clear engine assembly lube. This crank was micro polished on the
journals only since it had no wear! |
 |
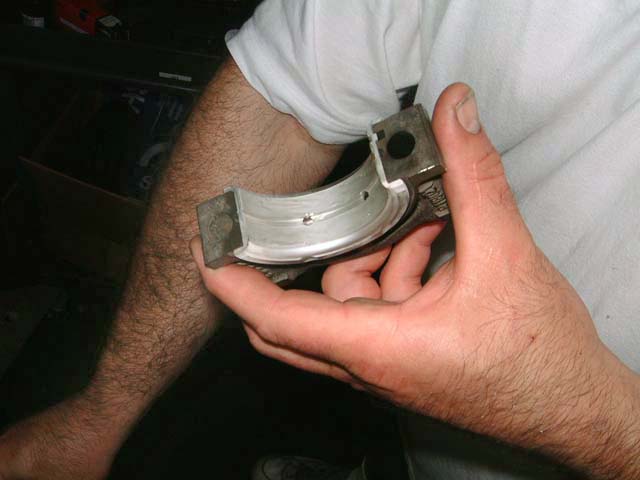
| This view shows the lower main bearing cap
with new bearing installed... smeared with lube. |
 |
| 1/2 way done. Don't rotate the crank during
yet! |
 |
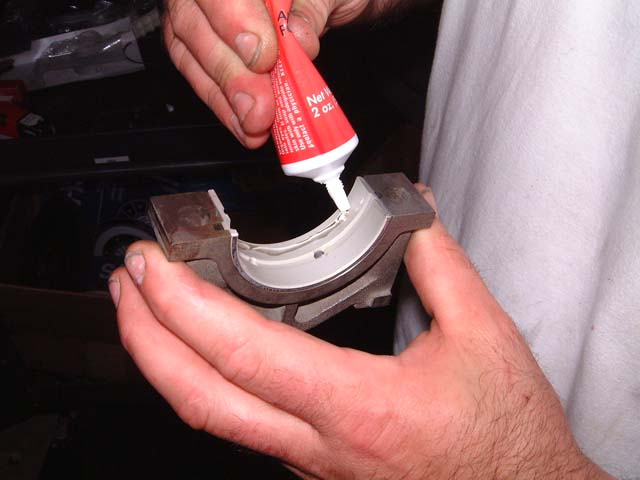
| More assembly lube goes on. |
 |
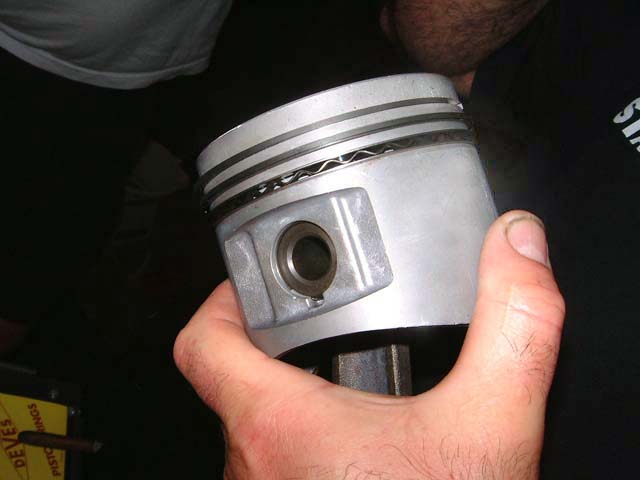
| The rings are sized exactly for each
cylinder, first oversize were used and cut down exactly in each bore, then
installed on the piston. These are Deves rings, they are 5 pieces for each
piston. The oil scraper ring on the bottom is in 3 parts. |
 |
| A ring compressor is used and the first
piston goes into #1 cylinder. WOO HOO! |
 |
|
Three down, 1 to go. |
 |
|
Once done, he installed the new Oil Pump. We saw how
important the oil pump shim is in putting the right tension on the oil pump
chain. |
 |
|
The engine is now covered and ready for top end assembly
later in June/July when Rob returns to finish it off! |
| |
| NEXT:
ON TO HERMANN!! PART 3-> |

