The suspension will be clean and better than new when I get done!
As you have read previously on my site, Rob at
2002 Haus has been
advising/assisting me with this project. The front and rear suspension has
been a topic of discussion for about 2 years with he and I. I have driven
his 74' tii with liked what was used, so consider the suspension setup I use
as part of the "recipe book" he uses with regards to "what BMW parts" and
"what aftermarket parts" work best together to enhance the overall handling,
performance and longevity of the car. I'm also acting as test bed for Rob's
specialty powder coating services for some of the restoration you will see
here. (He has
more on his
web site, but it's good to see them on a car. If you have a need, he can
probably take care of it, just call!)
NOTE: Even if you're not going to the extreme I am, it's good to
replace bolts which will be put under load by the everyday use of the car
with new ones. There are also bolts which are harder than the original which
are an upgrade. This hardness is measured in Grades. Grades 10 or 12
components supercede the strength of most bolts supplied by BMW originally
in the suspension, front and rear. I found that large True Value hardware
stores and specialty companies like
Fastenal provide what
you need, and if you are a stickler, you can also get exact plating color
bolts from
Wurth USA. but expect
to pay more.
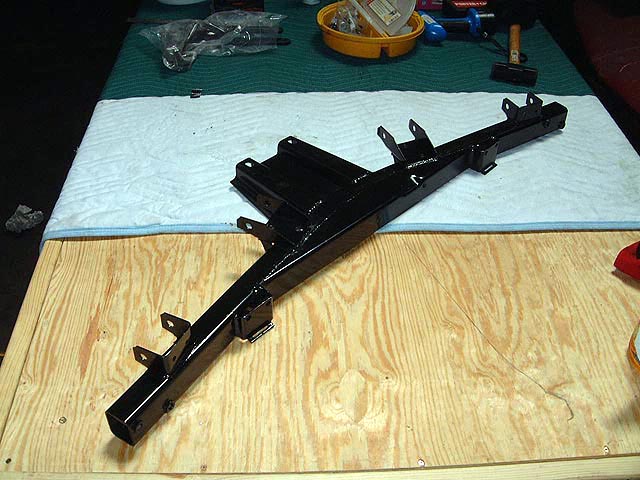
Back in June of 2002, when
the tub was completely media blasted I left major components such as the
sub frames to have the same work done to them. What you see below is a BMW
2002 rear sub frame, completely sand blasted and then coated with POR-15
Rust Preventative black suspension paint. |
 |
|
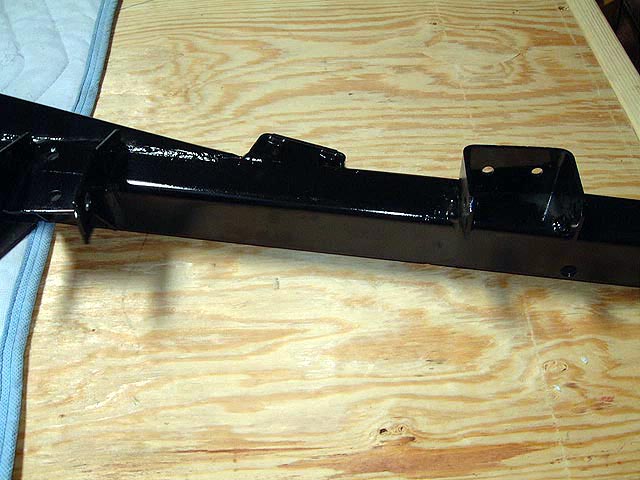
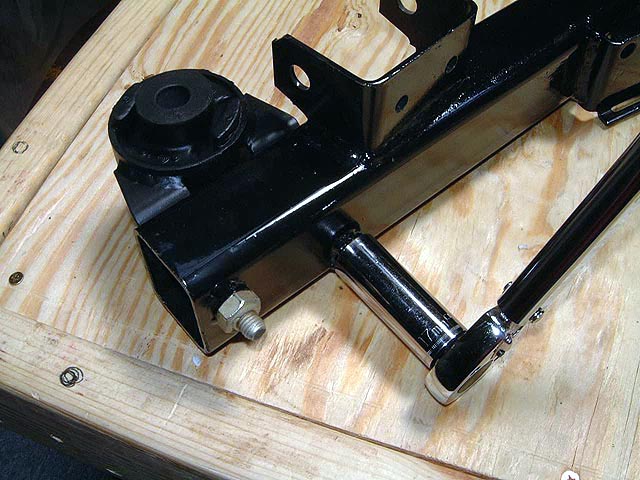
Close up view showing the end of the rear sub frame which
houses the carrier bushing (L), trailing arm (Mid) and sway bar clip (R). |
 |
|
Top View of the same. |
 |
|
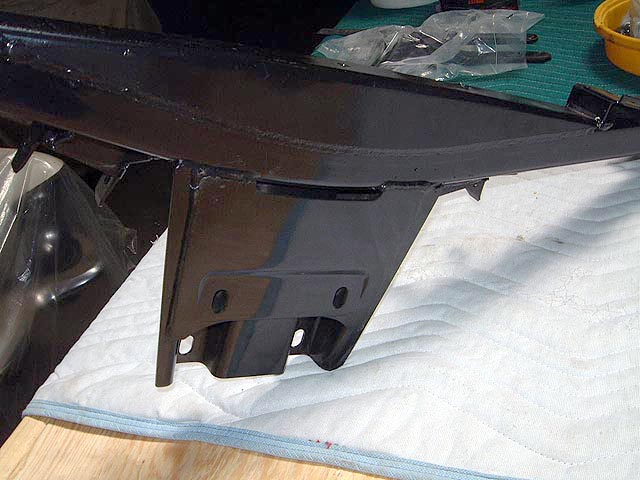
Underneath the middle section of the sub frame is where the
rear differential is mounted. |
 |
|
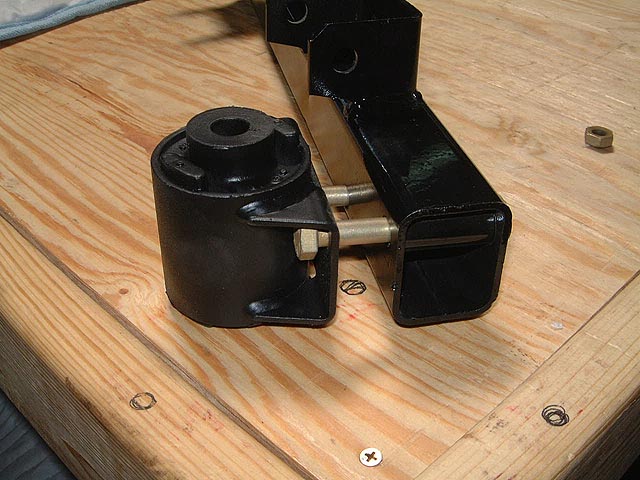
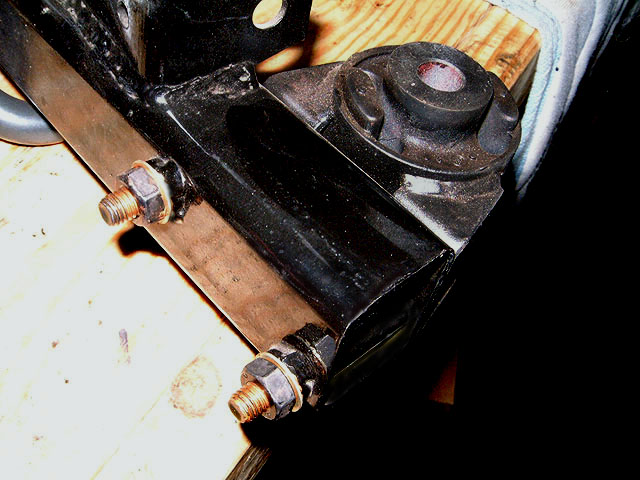
New carrier bushings. These are held in place by 17MM bolts.
Make sure and insert both bolts together, you cannot install them
individually. |
 |
|
These nuts should be torqued on in accordance to the shop
manual. |
 |
|
After applying the proper torque, I felt the original bolts,
grade 8.8 which I had re-plated were inadequate. It was not possible to
torque them correctly without stripping threads. This is because over time
the plating process may have made threads soft. I later installed grade 10
(black anodized finish) bolts which are stronger for this purpose. Make sure
and use anti-seize compound on all threads. Another important TIP here: The
factory supplies the carrier bushing mounts in a grey finish paint. I've
carefully coated them in the
Plasti-Dip
rubberized spray to make a barrier around the metal. This can be a good way
to treat metal that can't easily be treated by POR-15 because it needs bare
metal to work the best. |
 |
|
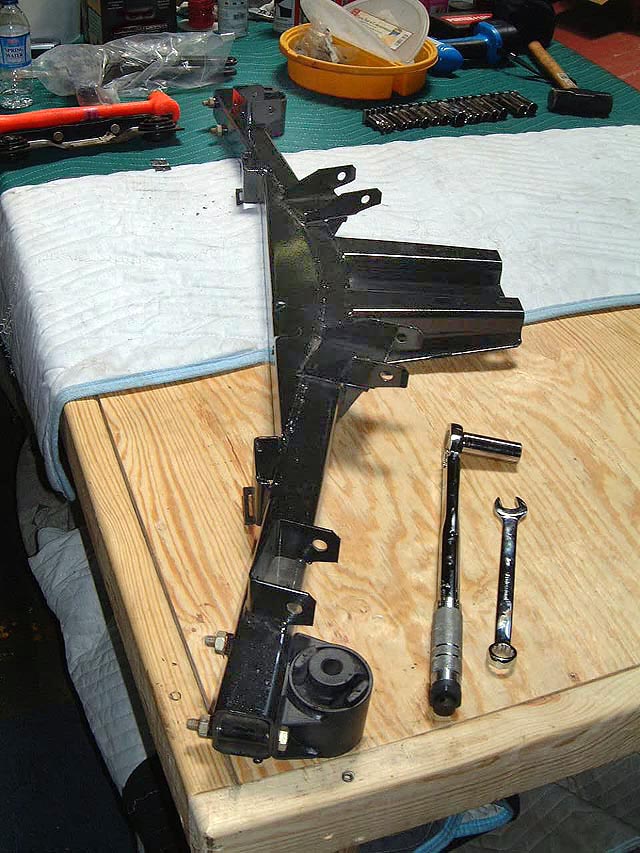
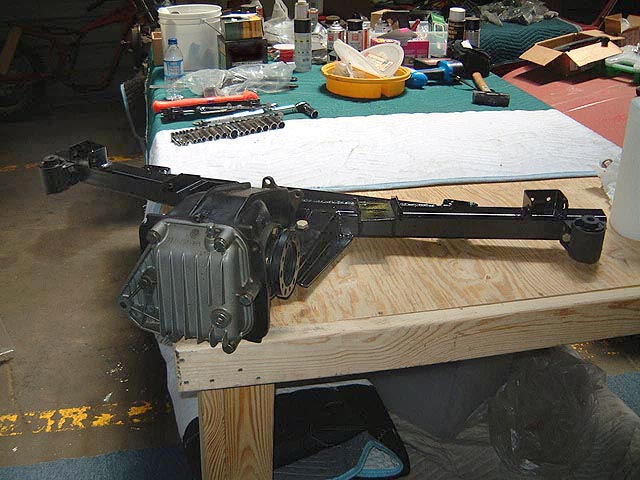
Here is the subframe with both carrier bushings installed.
Ready for the next parts! |
 |
|
This is the differential laying topside down with the
retaining bolts inserted to the sub frame. In this photo, it doesn't show
the fact I needed 4 washers instead of 2. You do need 4! |
 |
|
This view shows my 2002 Haus modified flanges with dual
threads. This allows either 2002 or E21 half shafts. |
 |
|
Close up view showing the two different lengths of bolts
used. |
 |
|
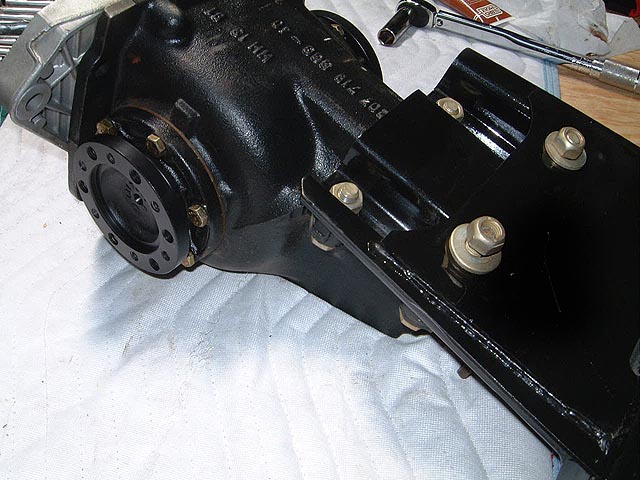
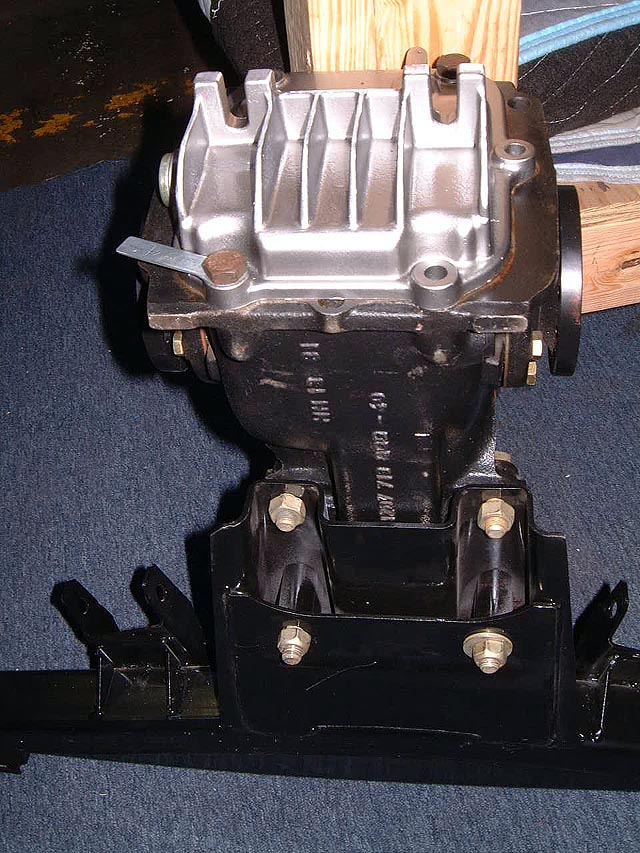
Alright! back view showing differential installed. |
 |
|
But wait... that's an E21 rear cover - that has to go! |
 |
|
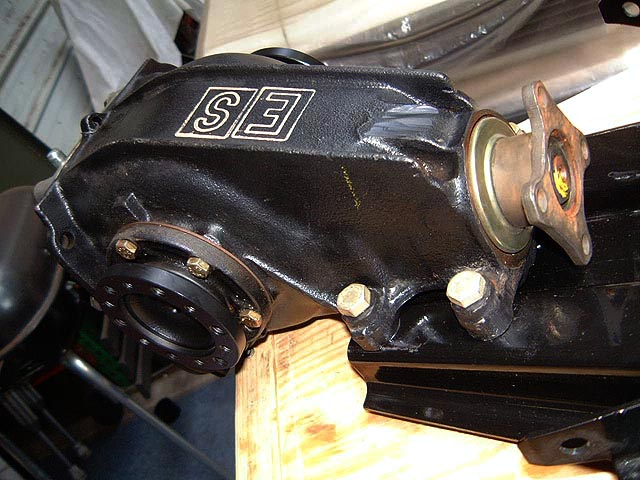
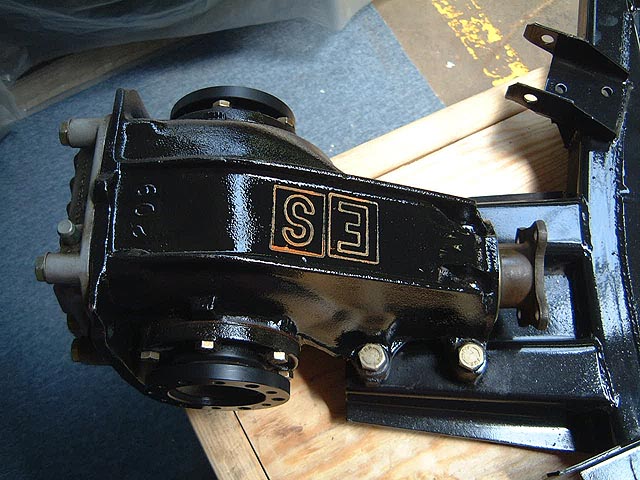
"E S ??" This is a replacement 3:91 LSD, never installed on a
car. The original E21 units just said "S". |
 |
|
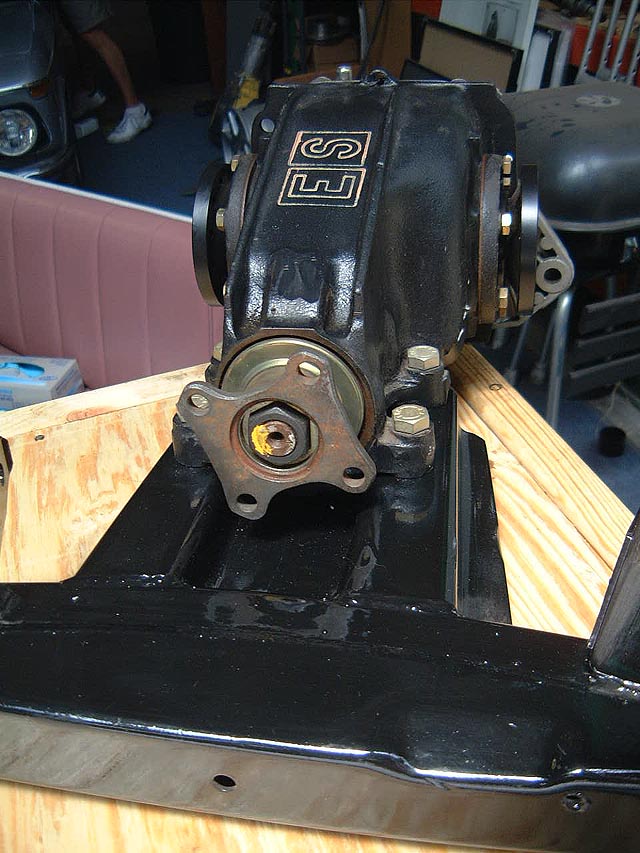
Front view shown before E21 rear diff cover was removed. |
 |
|
Close up view of these 2002 Haus re-drilled LSD flanges.
2002's use the bigger of the two holes. |
 |
|
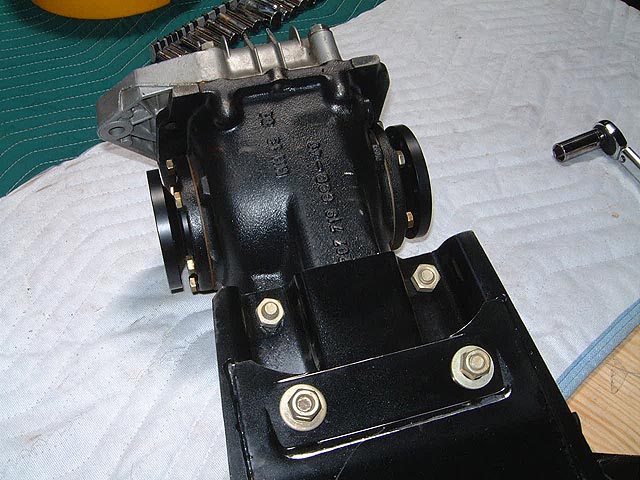
Top view of the differential mounted to the sub frame. |
 |
|
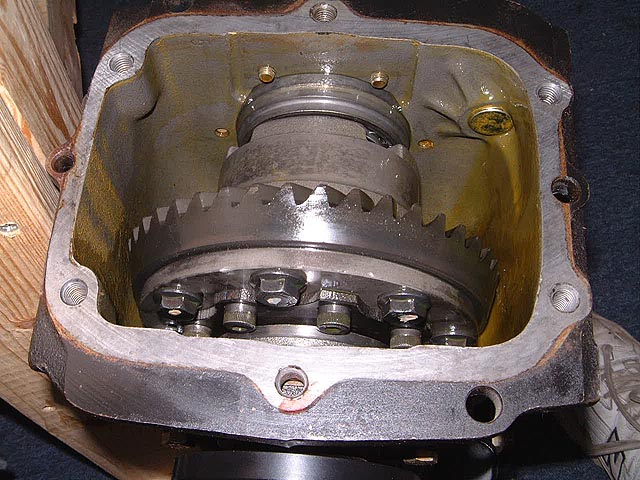
INSIDE: this is what a Limited Slip Differential looks like
on the inside. |
 |
|
This one is ready for the Red Line Synthetic Diff lube.
Remember, LSD's require special LSD lubricant for the clutch mechanism. |
 |
|
The ring and pinion gear as shown closeup. |
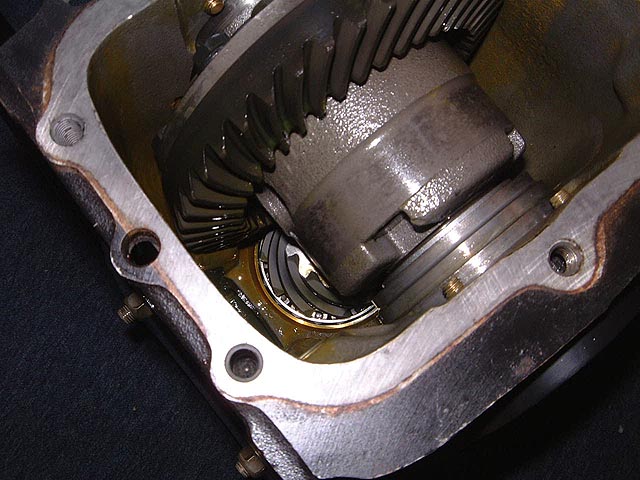 |
|
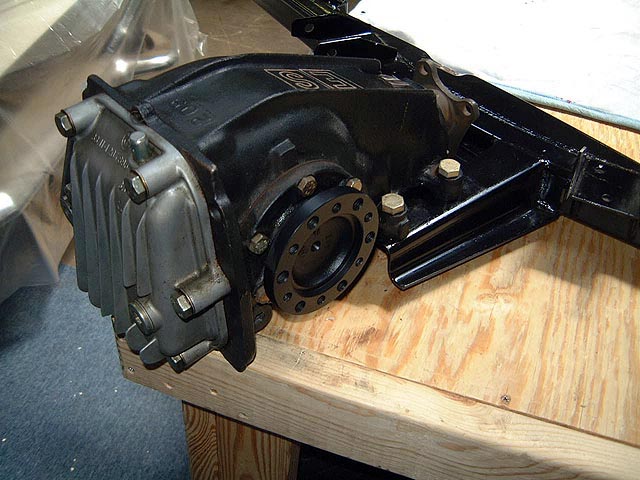
Ok, this is the correct 2002 rear differential cover. The
bolts that came with the E21 are too long. These two shown are just to keep
it on for now till I add the fluid and new gasket. |
 |
|
This view shows where the two bolts will pass through the
rear of the differential cover and stiffen up the mounting between the back
of the differential and the car body itself. |
 |
|
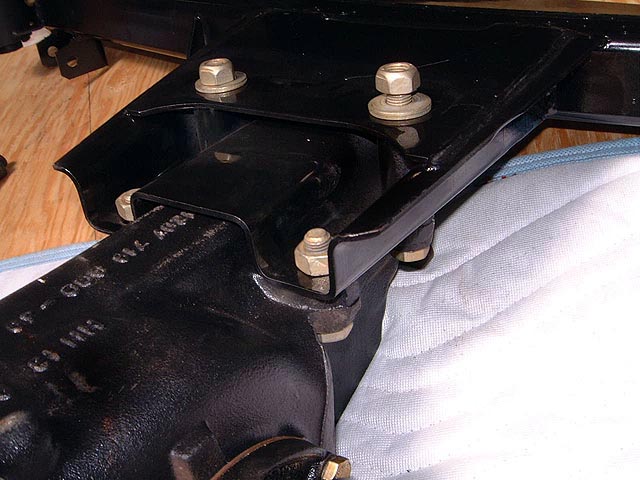
This view shows the assembly laid out with new ST rear sway
bars. They provide all the hardware you need, including these urethane
bushings. |
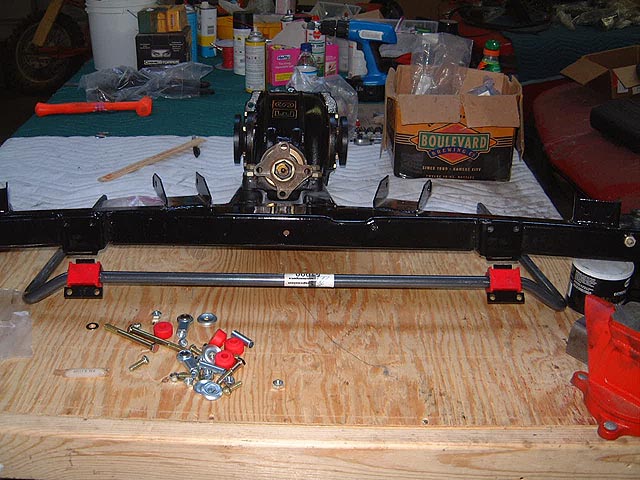 |
|
The tongue of this cover fits snugly against the sub frame
and is held in place on both sides by two bolts. |
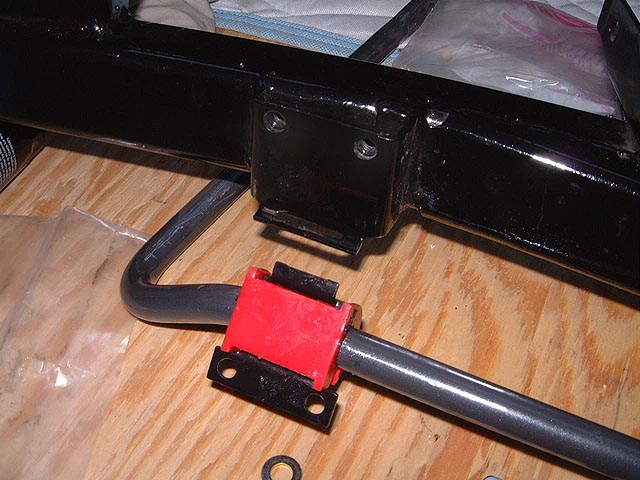 |
|
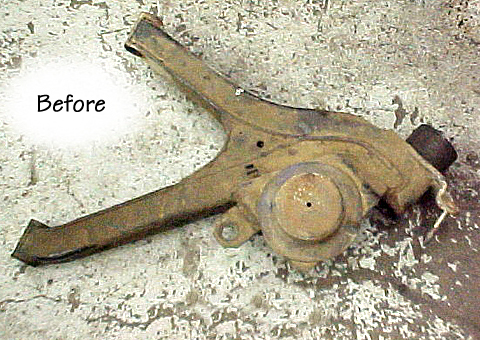
OK, TII trailing arms, before they went into the bead
blaster. These photos courtesy of Rob at 2002
Haus. |
 |
|
This is the bottom side, showing the boxed inner section. |
 |
|
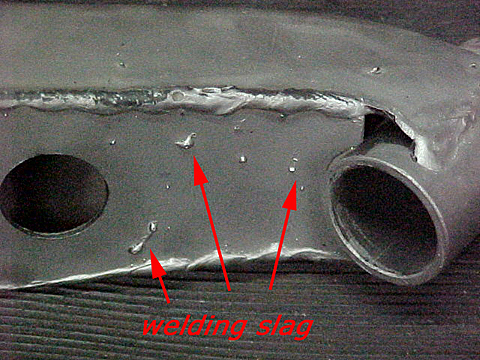
Mass Production! A visual inspection shows some leftover slag
from the factory. |
 |
|
In this photo, even a piece of the MIG welding rod was left
behind. |
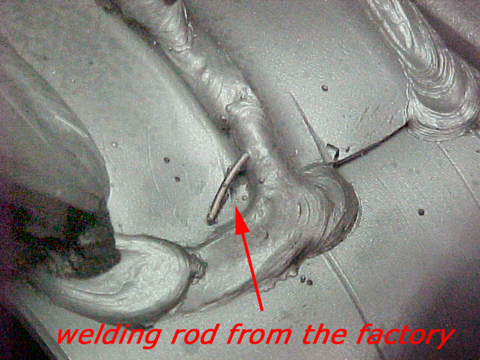 |
|
Rob uses a die grinder to smooth out these spots and put on
new welds prior to powder coating. |
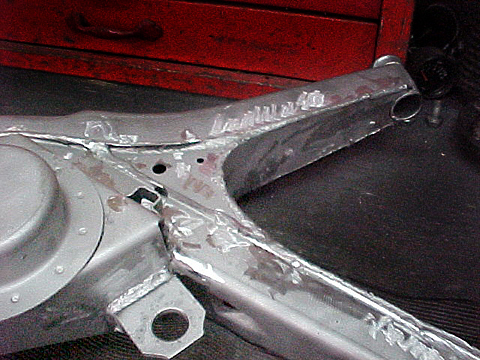 |
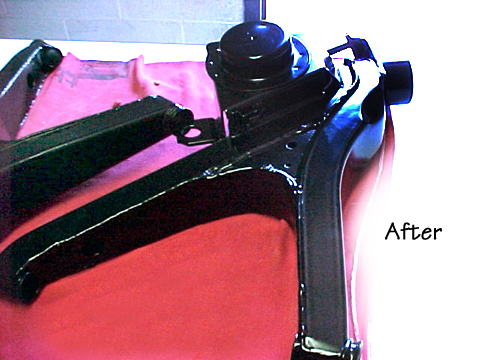
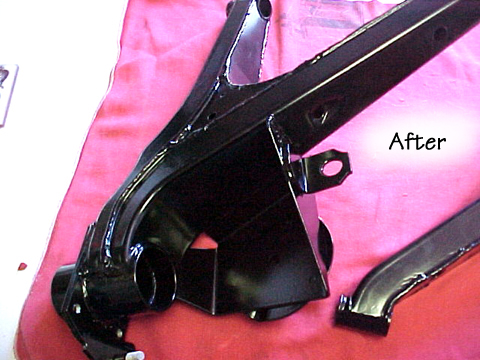
| Aftwards! These look better than new. |
 |
|
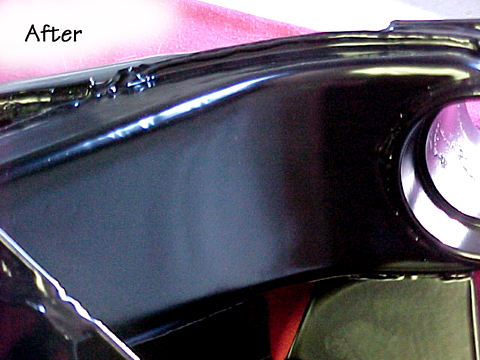
Close up shows all the nasty welding bits are gone. |
 |
|
Nice Job! |
 |
These are on their way back to my shop for final assembly of
the rear suspension.
More on this in the next few weeks.
Back to Part 1: |

